Mapping Business Card Data to Custom Salesforce Fields
Your org has its own data model. Here's how to plan field mappings so every scanned card lands in exactly the right Salesforce fields.
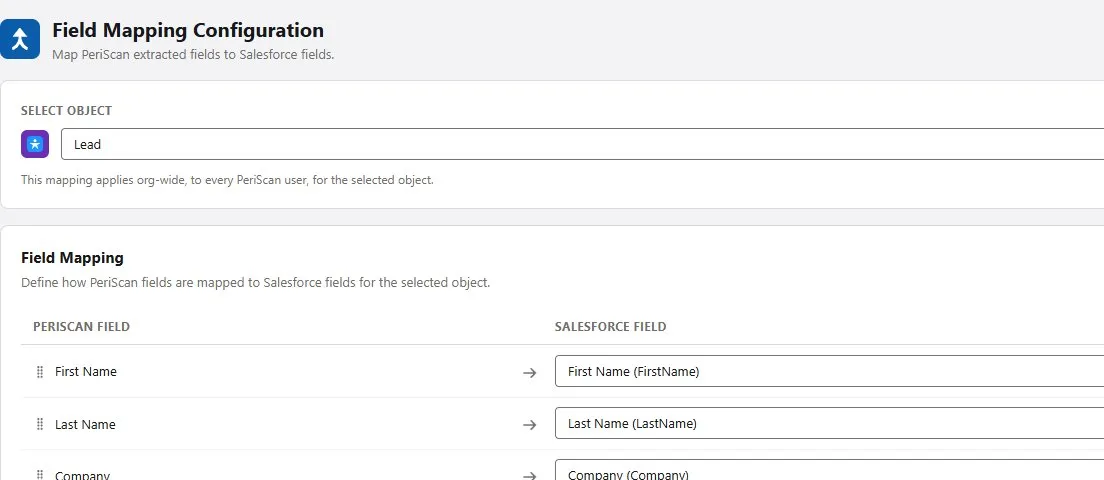
Out of the box, a business card maps neatly to standard Salesforce fields: First Name, Last Name, Title, Company, Email, Phone, Mobile, Website and Street. But most orgs have customised their objects over the years — and scanned data should respect that.
Start with an inventory
List the fields a card can provide, then decide where each should go on every object you create from scans:
| Card data | Lead | Contact |
|---|---|---|
| Name | First Name / Last Name | First Name / Last Name |
| Job title | Title | Title |
| Company | Company | Account (lookup) |
| Phone / mobile | Phone / Mobile | Phone / Mobile |
| Website | Website | Account website |
| Address | Street, City, etc. | Mailing address |
Then add any custom fields — for example, a separate “Direct line” field or a region field your routing depends on.
Watch the required fields
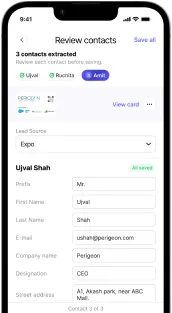
If an object has required fields, make sure each one is mapped. PeriScan’s Field Mapping screen flags required fields so a scan never fails to sync because something was left out.
Map per object
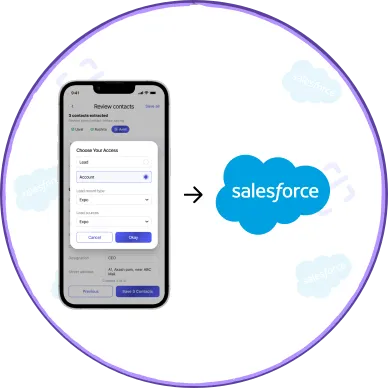
Mappings are configured separately for Lead, Account and Contact. That matters when the same piece of data means different things — company is a text field on a Lead but a lookup to an Account on a Contact.
Keep it maintainable
- Document your choices. A short note on why a custom field is mapped helps the next admin.
- Revisit after schema changes. If you add or retire fields, update the mapping at the same time.
- Test with real cards. Scan a few varied cards and check the resulting records field by field.
Good mappings mean reps never need to open the record and tidy it up. Explore PeriScan for Salesforce.